Designing a VR walkthrough for windmill technicians

Designing a VR walkthrough for windmill technicians

The VR Windmill Tour is an immersive training experience that familiarizes technicians with the core components and basic
principles of windmill operation.

The VR Windmill Tour is an immersive training experience that familiarizes technicians with the core components and basic principles of windmill operation.

June, 2024 | 10 min read

Activities

UX XR Design | 3D and Prototype

Team members

Raj Gaurav Oraon

Context

Internship

Duration

10 Days

Opportunity

Technicians undergoing training

often have no knowledge of how a

windmill functioned

Technicians undergoing training often have no knowledge of how a

windmill functioned

The organisation I worked with, offered specific technical courses for aspiring windmill technicians. Most participants had no prior experience working with windmills, so a considerable amount of training time was being spent familiarizing them with windmill basics before moving on to the actual technical training.

To address this issue, we created a VR tour of a windmill nacelle that would introduce the user to its main components and give a basic understanding on the
working principles of a windmill.

To address this issue, we created a VR tour of a windmill nacelle that would introduce the user to its main components and give a basic understanding on the working principles of a windmill.

To address this issue, we created a VR tour of a windmill nacelle that would introduce the user to its main components and give a basic understanding on the working principles of a windmill.

//Workflow

// Workflow

01

requirement gathering

Identifying the right components to be
showcased in the experience

Among all the components in the nacelle, the technicians only needed to learn about a few key ones to begin their training. The user persona of the technician (who we were designing for) was already well-defined by the organisation.
This helped guide several early decisions on how the product needed to be:

Among all the components in the nacelle, the technicians only needed to learn about a few key ones to begin their training. The user persona of the technician (who we were designing for) was already well-defined by the organisation. This helped guide several early decisions on how the product needed to be:

Focus on main components

The nacelle of a windmill is a complex structure consisting of several parts, but the technicians only needed to be aware of the ones they were going to work with.

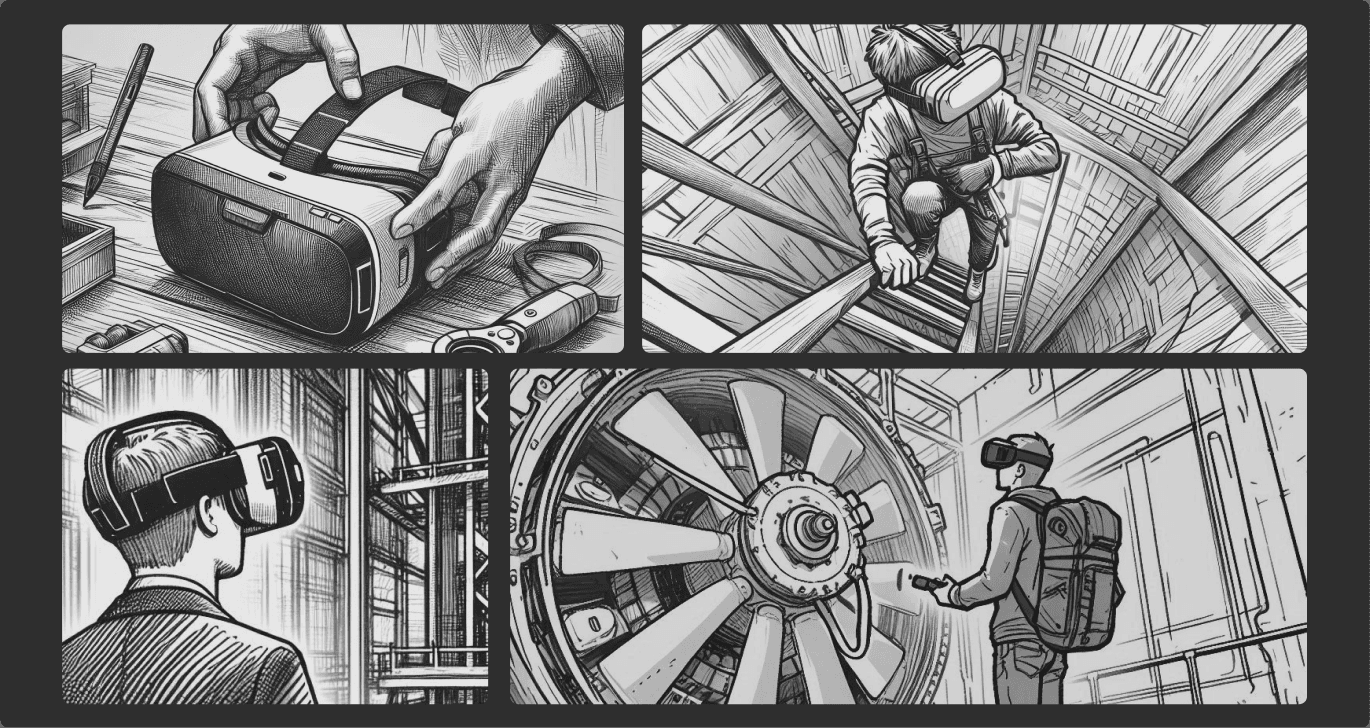
Simplicity and ease of use

Most technicians were first-time VR users, which was an important consideration when designing the navigation and interactions for
the experience.

Short and Informative

It was important to keep the experience short and not over explain things as the users were already technically competent.

// We conducted a UX study and heuristic evaluation of fifteen existing VR training modules to understand key components, user interactions, and the design language
used at the organisation.

// We conducted a UX study and heuristic evaluation of fifteen existing VR training modules to understand key components, user interactions, and the design language used at the organisation.

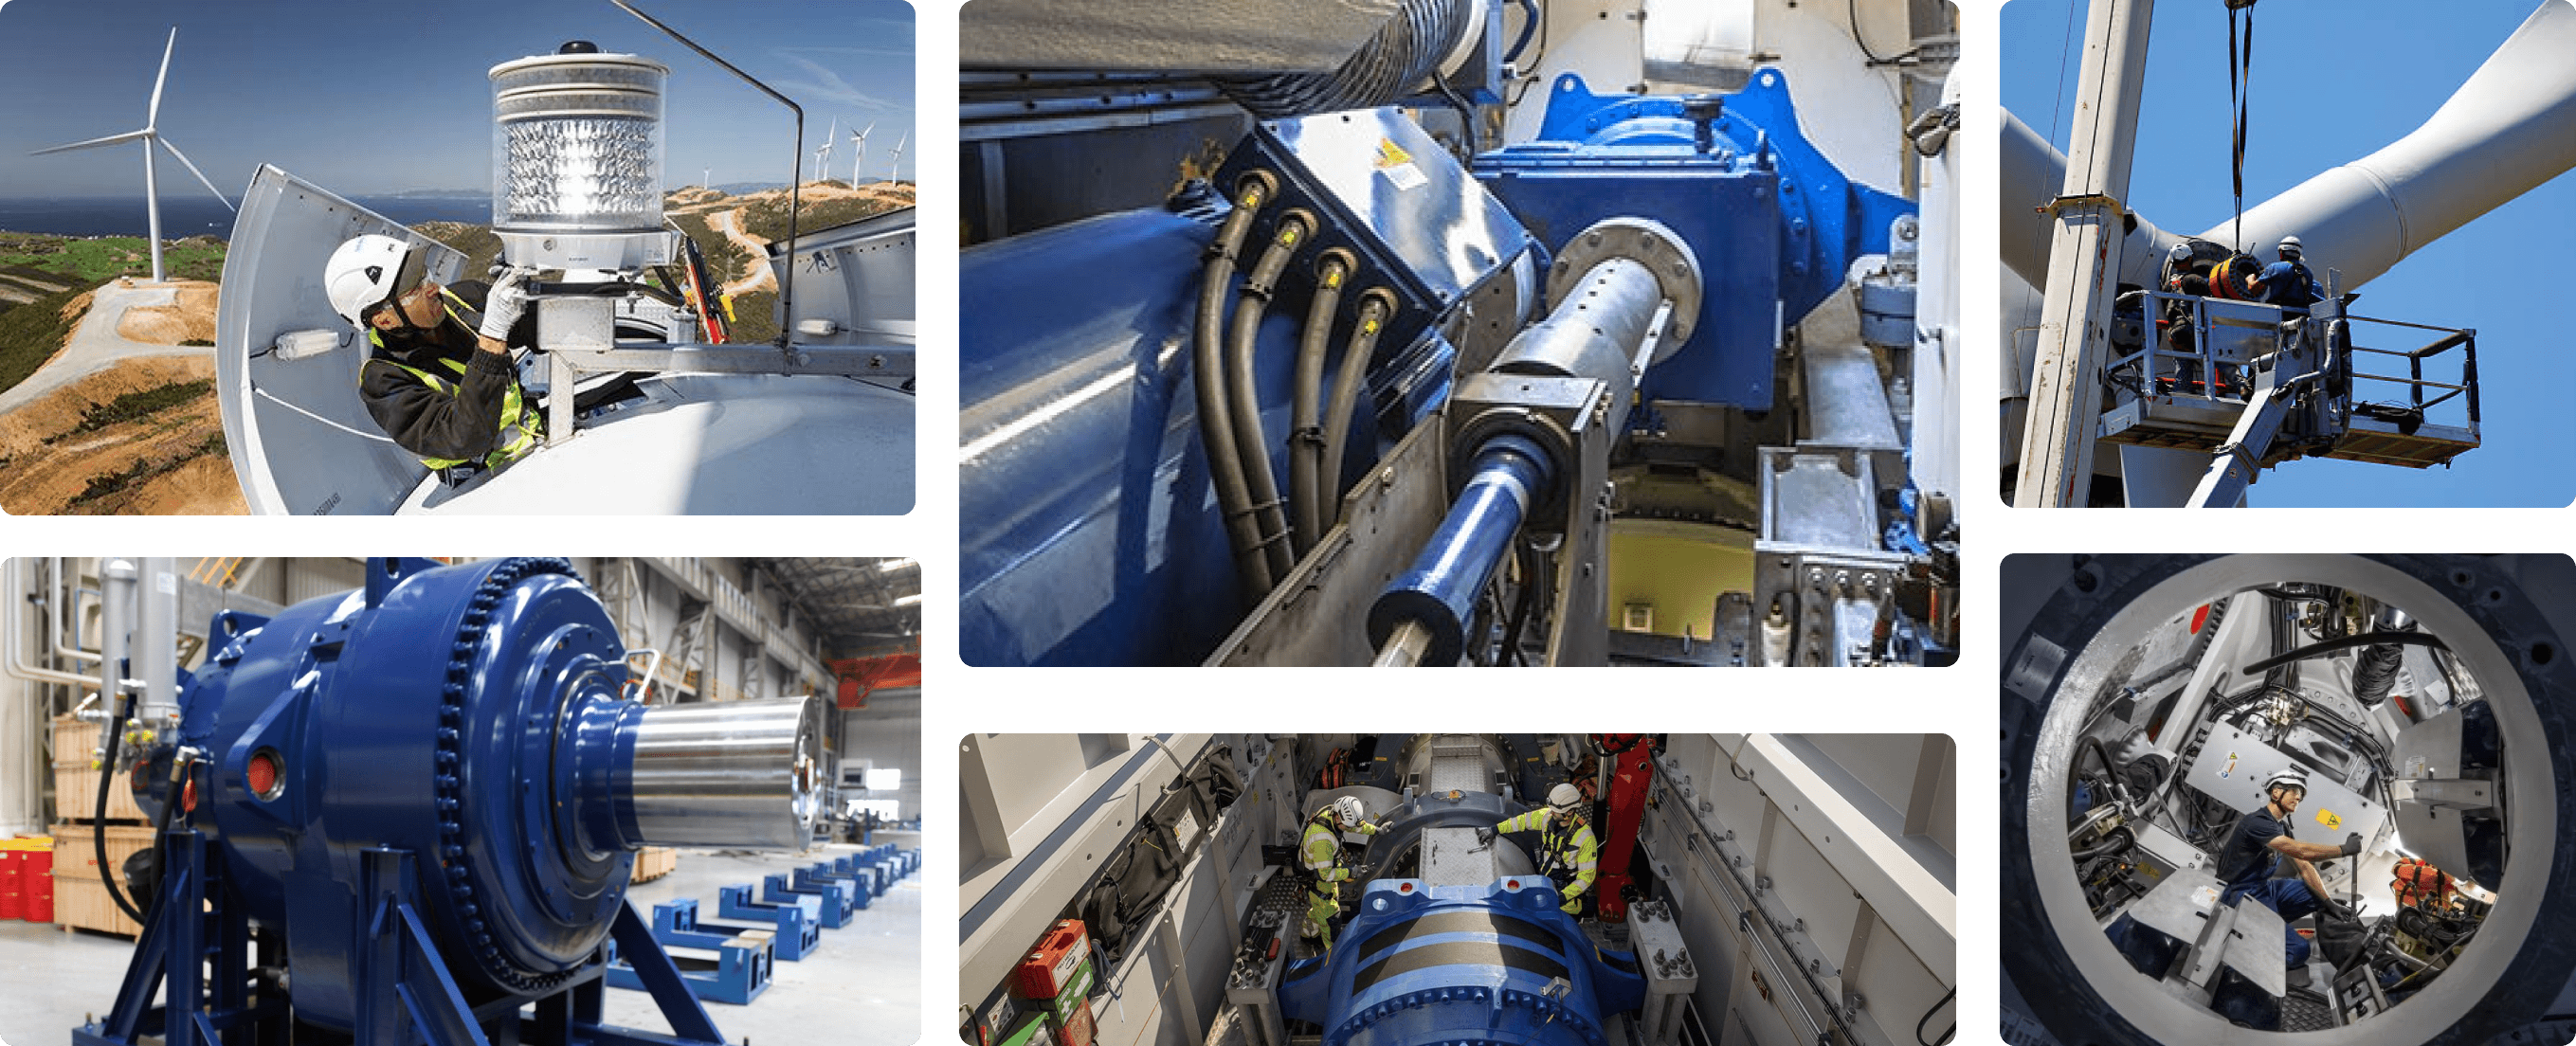
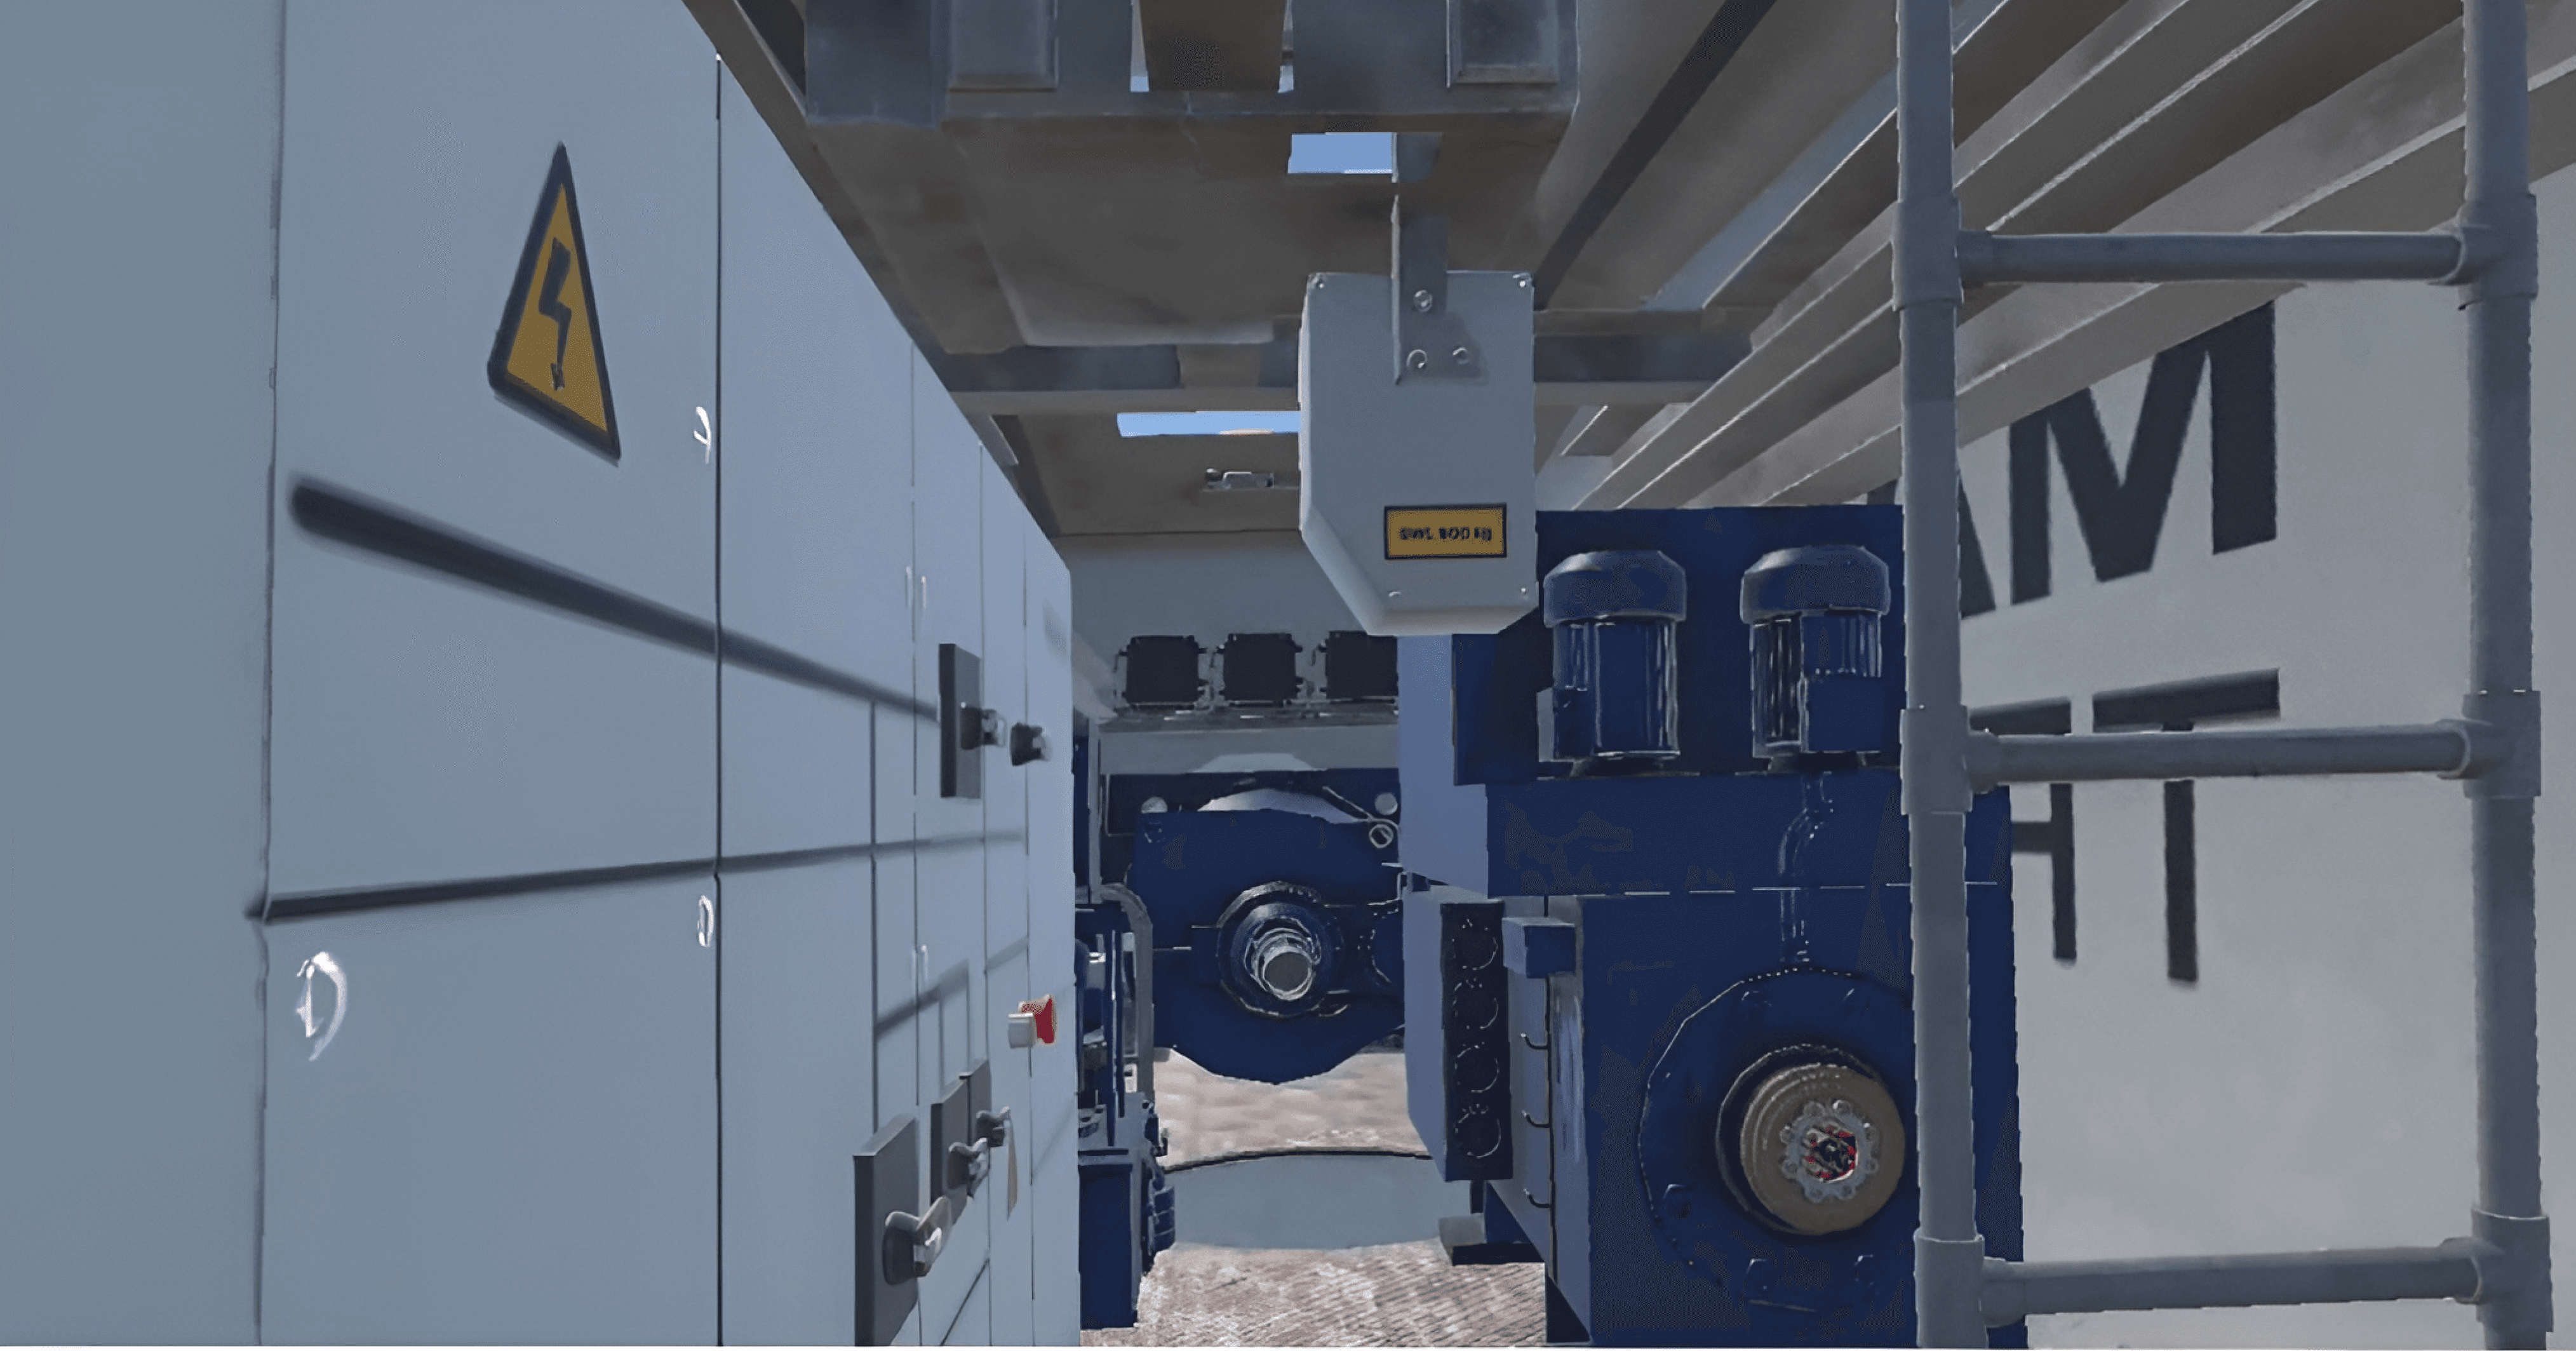
A SME (Subject Matter Expert) provided us with videos explaining the interiors of the nacelle. This along with the secondary research, helped us identify the key components to highlight during the tour. The videos also informed the layout and sequence for presenting each component:
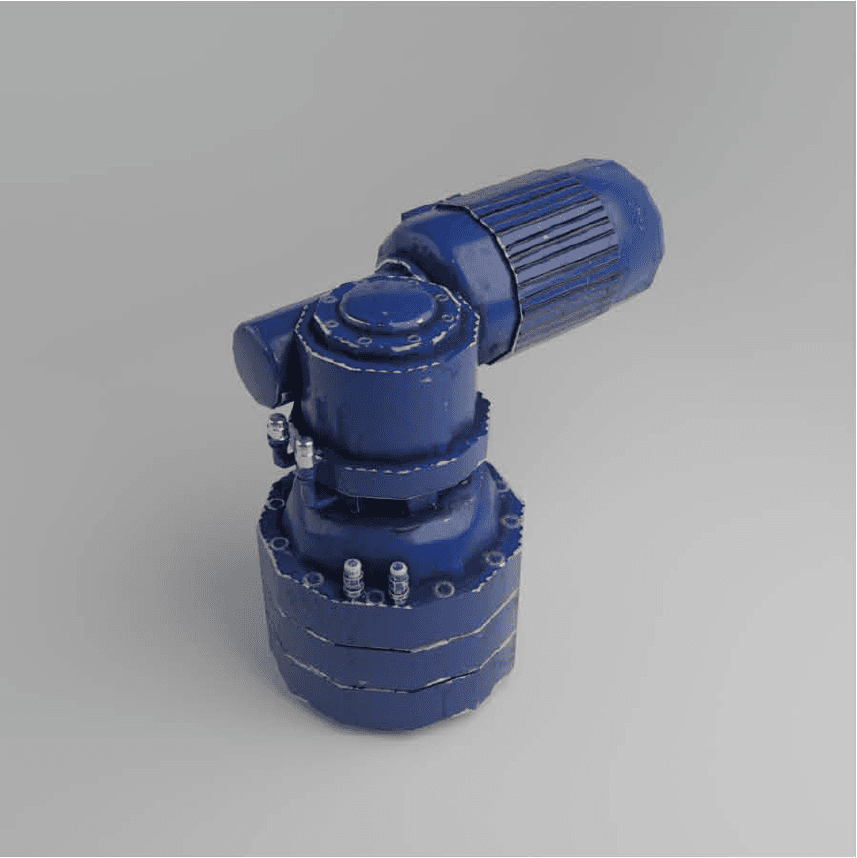
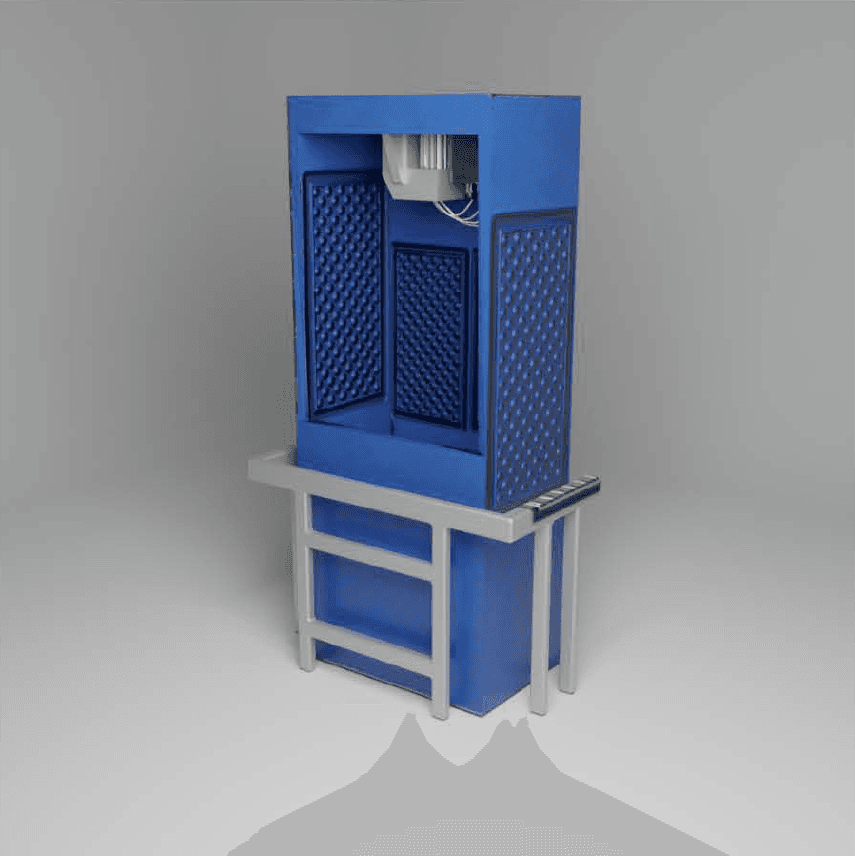
  • Gearbox

  • Hydraulic pump station

  • Generator

  • Drivetrain

  • Yaw motors

  • Electrical Cabinet

02

storyboarding and UX flow

We wanted to keep the entire experience
under 10 minutes.

To make navigation easier for users in the VR environment, we limited free movement and opted for teleportation with predefined anchors as the
primary locomotion method.

// Flow of activities in the nacelle walkthrough experience

// Flow of activities in the nacelle walkthrough experience

// Storyboard

// We conducted a UX study and heuristic evaluation of fifteen existing VR training modules to understand key components, user interactions, and the design language used at the organisation.

03

interaction design

We provided a total of 3 natural interactions and
12 teleportation anchors

Since the experience lasts just 10 minutes, we incorporated only the most essential interactions to avoid a break in presence, along with a simple navigation flow that efficiently covers all components in the shortest time possible

// Using the door handle

// Pressing the lift buttons

// Climbing the ladder

  • We placed the teleportation anchors in areas that were easy to spot and navigate to. The voice over also guided the user towards the exact location of the next destination.

  • We expanded the interior space of the nacelle slightly to prevent users from feeling claustrophobic and becoming disoriented.

04

3d Asset creation and prototyping

The platform we used to host the application had several technical constraints

We used Blender and Substance Painter to model and texture the various components and Unity to prototype the experience. The application was to be hosted on a cloud based platform that placed many technical constraints.

Standalone build

The expected final output was an APK file that was ideally less than 100MB and could be run on a headset (Quest 3) as a
standalone application.

The expected final output was an APK file that was ideally less than 100MB and could be run on a headset (Quest 3) as a standalone application.

Polycount limit

The entire nacelle environement should be 1:1 scale and could not exceed a polycount of 4,00,000 to ensure atleast 60 FPS while being run on a quest 3

Texture resolution

The hosting platform did not allow models with texture resolutions exceeding 1024*1024 px. We had to optimise the UV packing as much as possible.

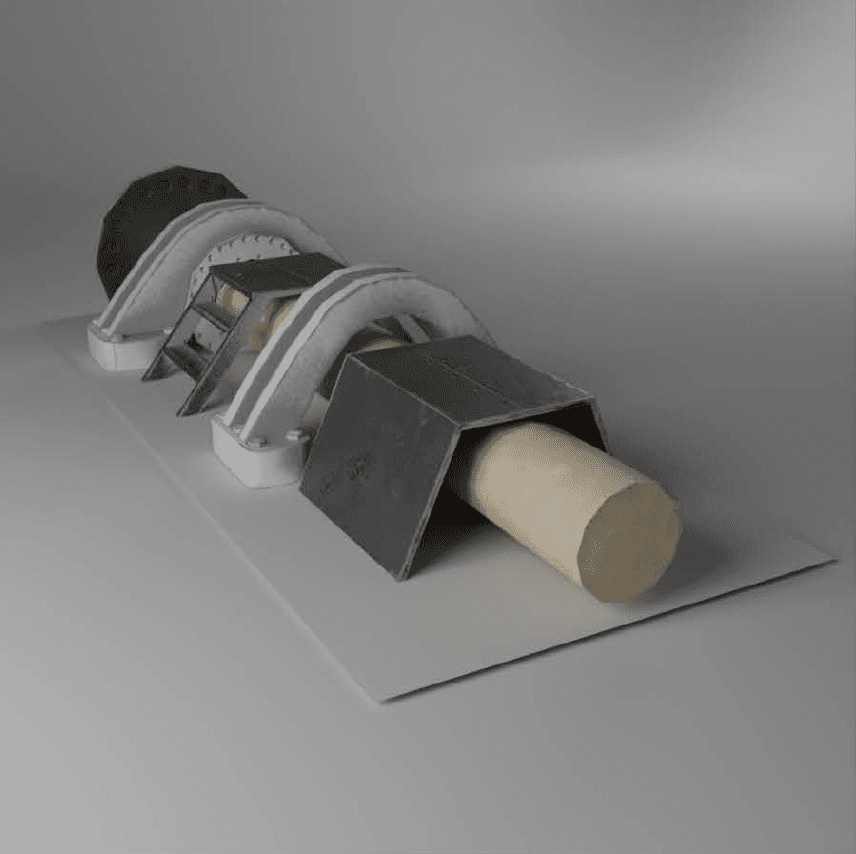
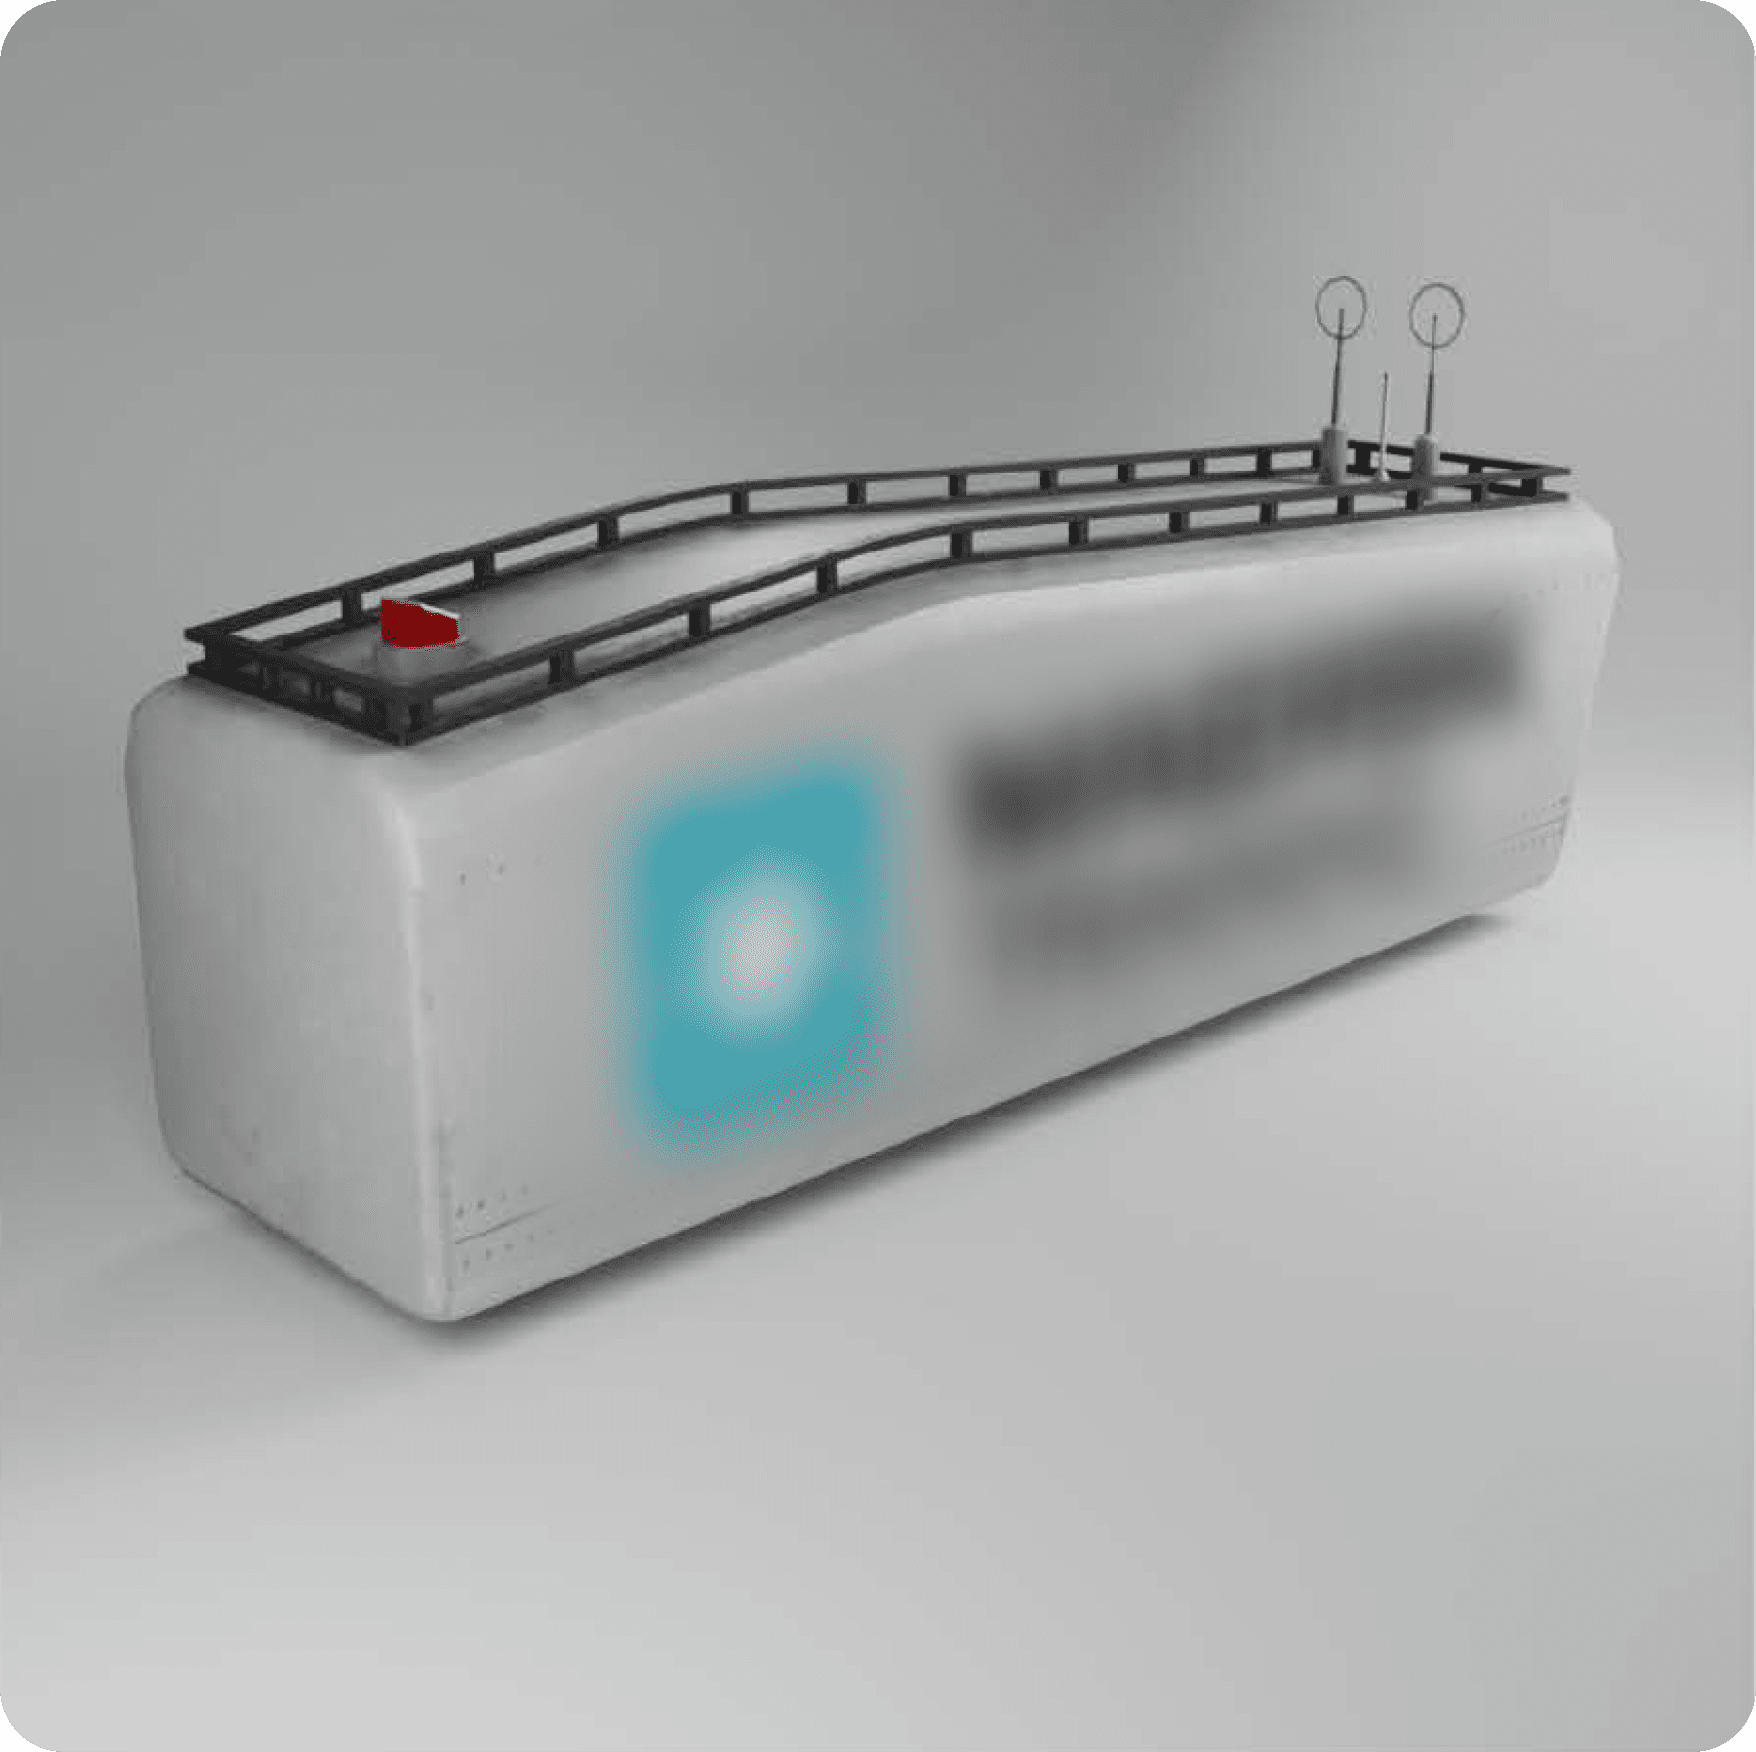
I modelled and textured these 6 assets while Raj worked on the rest

prototyping

We ended up creating the final environment well
within the constraints

We took on the challenge of optimizing the 3D assets by modeling them as low-poly as possible and using texture maps no larger than 512x512px. We also made heavy use of texture stamping to fake geometry in areas where it wasn’t needed.

  • The total environment was completed in just 40,000 polygons

  • The final experience ran at more than 90 FPS without any frame-drops

  • The final build file was only 64 MB in size

  • We also drastically reduced draw-calls by merging objects

We took on the challenge of optimizing the 3D assets by modeling them as low-poly as possible and using texture maps no larger than 512x512px. We also made heavy use of texture stamping to fake geometry in areas where it wasn’t needed.

  • The total environment was completed in just 40,000 polygons

  • The final experience ran at more than 90 FPS without any frame-drops

  • The final build file was only 64 MB
    in size

  • We also drastically reduced draw-calls by merging objects

05

testing and feedback

We tested the experience with the Subject Matter Expert and the Product Manager

Since we had very limited time to complete this project, the usability testing was conducted within the team itself. The experience proved to satisfy the initial requirement of giving a very quick and clear introduction to various components of the windmill. We also got some feedback that we quickly fixed before handing over the APK file.

Future scope

Some ideas that could be implemented in the future to enhance the experience of the tour

  • Collaboration feature where an instructor could join the call and guide the trainee

  • Animated explainers for more clarity of information along with the voice overs

  • Animated explainers for more clarity of information along with the
    voice overs

  • Option to repeat the explanation even if it has already been completed

06

learning and reflections

Somethings that I am taking back with me after completing this project

  • Being decisive and trusting the process

  • Getting feedback regularly and ensuring the product requirement are met

  • Being part of a great team significatnly improves you as an individual

  • Adapting to constraints

  • Being decisive and trusting the process

  • Getting feedback regularly and ensuring the product requirement are met

  • Being part of a great team significatnly improves you
    as an individual

  • Adapting to constraints